Eyebrows are some of the most dynamic features on your face. They are fundamental to how we express ourselves, showing surprise, happiness, or concern without a single word. In beauty, the focus has shifted dramatically over the years. We’ve moved on from the super-thin arches of the past to embrace a fuller, more defined look. A bold brow has the unique ability to reshape your entire face, adding structure, harmony, and a youthful touch. You can even tell time periods based on eyebrow trends! We're going to explore the transformative power of a strong brow and how you can achieve the look.
Discovering Your Ideal Shape
The journey to an amazing brow begins with finding the perfect shape for your face. A style that flatters one person may not be the ideal fit for another. The objective is to select a shape that complements your unique facial structure. You can use a simple mapping method to find the ideal start, peak, and end point for your arches.
- The Starting Point: Hold a makeup brush or pencil vertically against the side of your nostril, pointing straight up. This marks the spot where your brow should begin.
- The Arch: While looking directly into a mirror, pivot the brush from your nostril to line up with the center of your iris. Where the brush intersects your brow bone is the natural place for your arch, or highest point. A well-placed arch provides a lifting effect.
- The End Point: Continue pivoting the brush from your nostril to the outer corner of your eye. This is where the tail of your brow should taper off. A tail that is too short can make eyes seem smaller, while one that is too long can visually pull the face down.
This mapping technique is a fantastic guideline, but feel free to make slight adjustments to match your personal preference.
Grooming and Shaping for a Fuller Look
Achieving a bold brow isn't about letting them grow completely untamed. The goal is to create a defined, polished shape that still looks full and healthy. Meticulous grooming is the secret to striking this perfect balance.
Tweezing vs. Waxing vs. Threading
Several methods are available for cleaning up stray hairs and defining your shape.
- Tweezing: This is the most popular at-home method, offering precise control to remove hairs one by one. It’s ideal for grabbing obvious strays between your brows and underneath the arch. The cardinal rule is to avoid overdoing it. Only remove hairs that are clearly outside of your target shape.
- Waxing: This method is fast and removes many hairs at once, resulting in a very clean, sharp line. It’s best left to a professional, as a small mistake at home can be significant.
- Threading: This traditional technique uses twisted cotton thread to pluck hairs from the root. It’s extremely precise and a wonderful option for sensitive skin since no chemicals are involved.
A great approach is to visit a professional for an initial shaping. This will establish a solid foundation that you can easily maintain at home by tweezing strays every few days.
The Importance of Trimming
Trimming is a crucial step for a tidy, bold brow. Hairs that are too long can look unruly, even if the shape is perfect. Use a clean spoolie brush to comb the hairs straight up. With a small pair of cosmetic scissors, carefully trim any hairs that extend far above the top line of your brow. Next, brush the hairs downward and trim any that are excessively long. This simple action makes a world of difference in creating a polished appearance.
Filling In: Products and Application
For most people, achieving a bold brow involves a little help from cosmetics. Filling in sparse patches, defining the silhouette, and adding a touch of color can elevate your look. The trick is to make them appear naturally dense, not heavily drawn on.
Choose Your Product
A wide variety of brow products are available, each delivering a different effect.
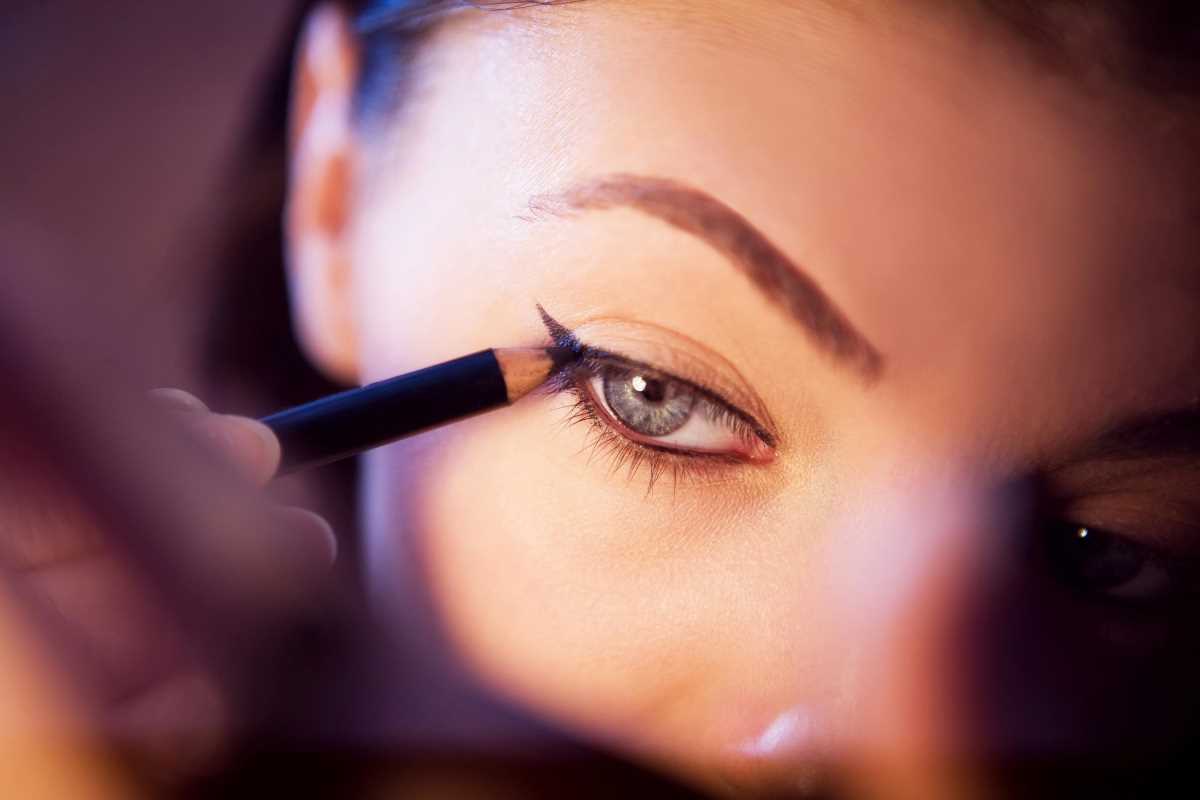
- Pencils: These are excellent for precision. A fine-tipped pencil allows you to draw feathery, hair-like strokes in sparse areas. They are perfect for sharpening the tail and defining the overall shape of your brow.
- Powders: Powder offers a softer, more diffused finish. Applied with a small angled brush, it’s great for filling in larger sparse areas. Using two shades, a lighter one at the front and a darker one for the arch and tail, creates a more natural gradient.
- Gels and Pomades: These products offer both color and hold. Pomades, applied with a brush, create a very defined, sculpted look that is long-lasting and often waterproof. Tinted gels are a fantastic single-step product, adding color while grooming and setting the hairs.
The Application Method
The secret to a natural-looking finish is a light touch and thorough blending. Start by brushing your hairs into place with a spoolie. With your chosen product, begin filling in sparse spots using light strokes that follow the direction of your hair growth. Concentrate the product on the arch and tail, which are typically denser. Use a very light hand at the front of the brow to prevent a harsh, blocky appearance.
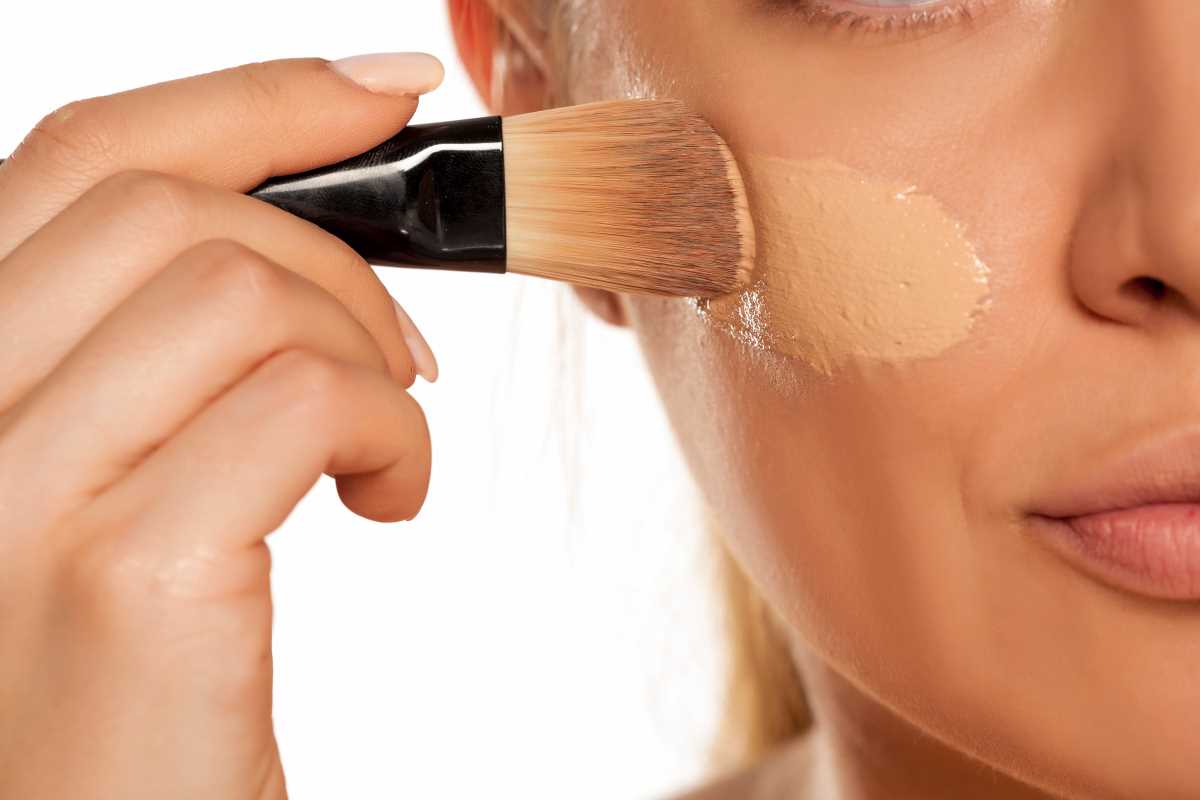
After filling them in, the most critical step is blending. Take your spoolie and gently brush through everything one more time. This softens harsh lines, distributes the product, and makes the final look appear more seamless and natural. To finish, you can use a clear or tinted gel to set the hairs for the day. For an extra-crisp look, apply a small amount of concealer with a flat brush to clean up the edges underneath your brow, making the arch pop.
Encouraging Natural Growth
If you're starting with sparse brows from past over-plucking, you may want to encourage some regrowth. The first step is to hide your tweezers. Allow your brows to grow for at least six to eight weeks to see what your natural growth pattern looks like. You can also try a growth serum containing ingredients like peptides and biotin to condition and strengthen the hair follicles. Applying castor oil at night is also a popular natural remedy. A strong brow is a powerful tool for defining your personal style and boosting your confidence.
 (Image via


